Mastering Long Exposure Techniques in Landscape Photography
Understanding Long Exposure Photography Basics
Long exposure photography involves using a slow shutter speed to capture the motion of elements in a scene. This technique allows photographers to create ethereal effects, like softening water or blurring clouds. The result is often a dreamlike quality that can transform a standard landscape into something extraordinary.
Photography is the story I fail to put into words.
To get started, you'll need a tripod to keep your camera stable during the long exposure. Even the slightest movement can ruin your shot, so ensuring your camera remains still is crucial. Additionally, using a remote shutter release or the camera's timer can help prevent shake when taking the photo.
Understanding exposure settings is also vital. The key components are aperture, shutter speed, and ISO. Balancing these settings will help you achieve the desired effect without overexposing or underexposing your image.
Essential Equipment for Long Exposure Shots
Having the right gear can make a significant difference in your long exposure photography. A sturdy tripod is your best friend, as it prevents any unwanted shake during the long shutter speed. Look for tripods that can handle various terrains, especially if you plan to shoot in different locations.
Filters are another important piece of equipment. Neutral density (ND) filters reduce the amount of light entering your lens, allowing for longer exposure times even in bright conditions. Think of ND filters as sunglasses for your camera—they help you control light without affecting color balance.
Essential Gear for Long Exposures
A sturdy tripod and neutral density filters are crucial for capturing sharp, well-exposed long exposure photographs.
Lastly, a camera that allows manual settings will give you the flexibility to adjust your exposure settings easily. While many smartphones have impressive cameras, DSLRs and mirrorless cameras offer more control, making them better suited for long exposure photography.
Choosing the Right Time of Day for Shooting
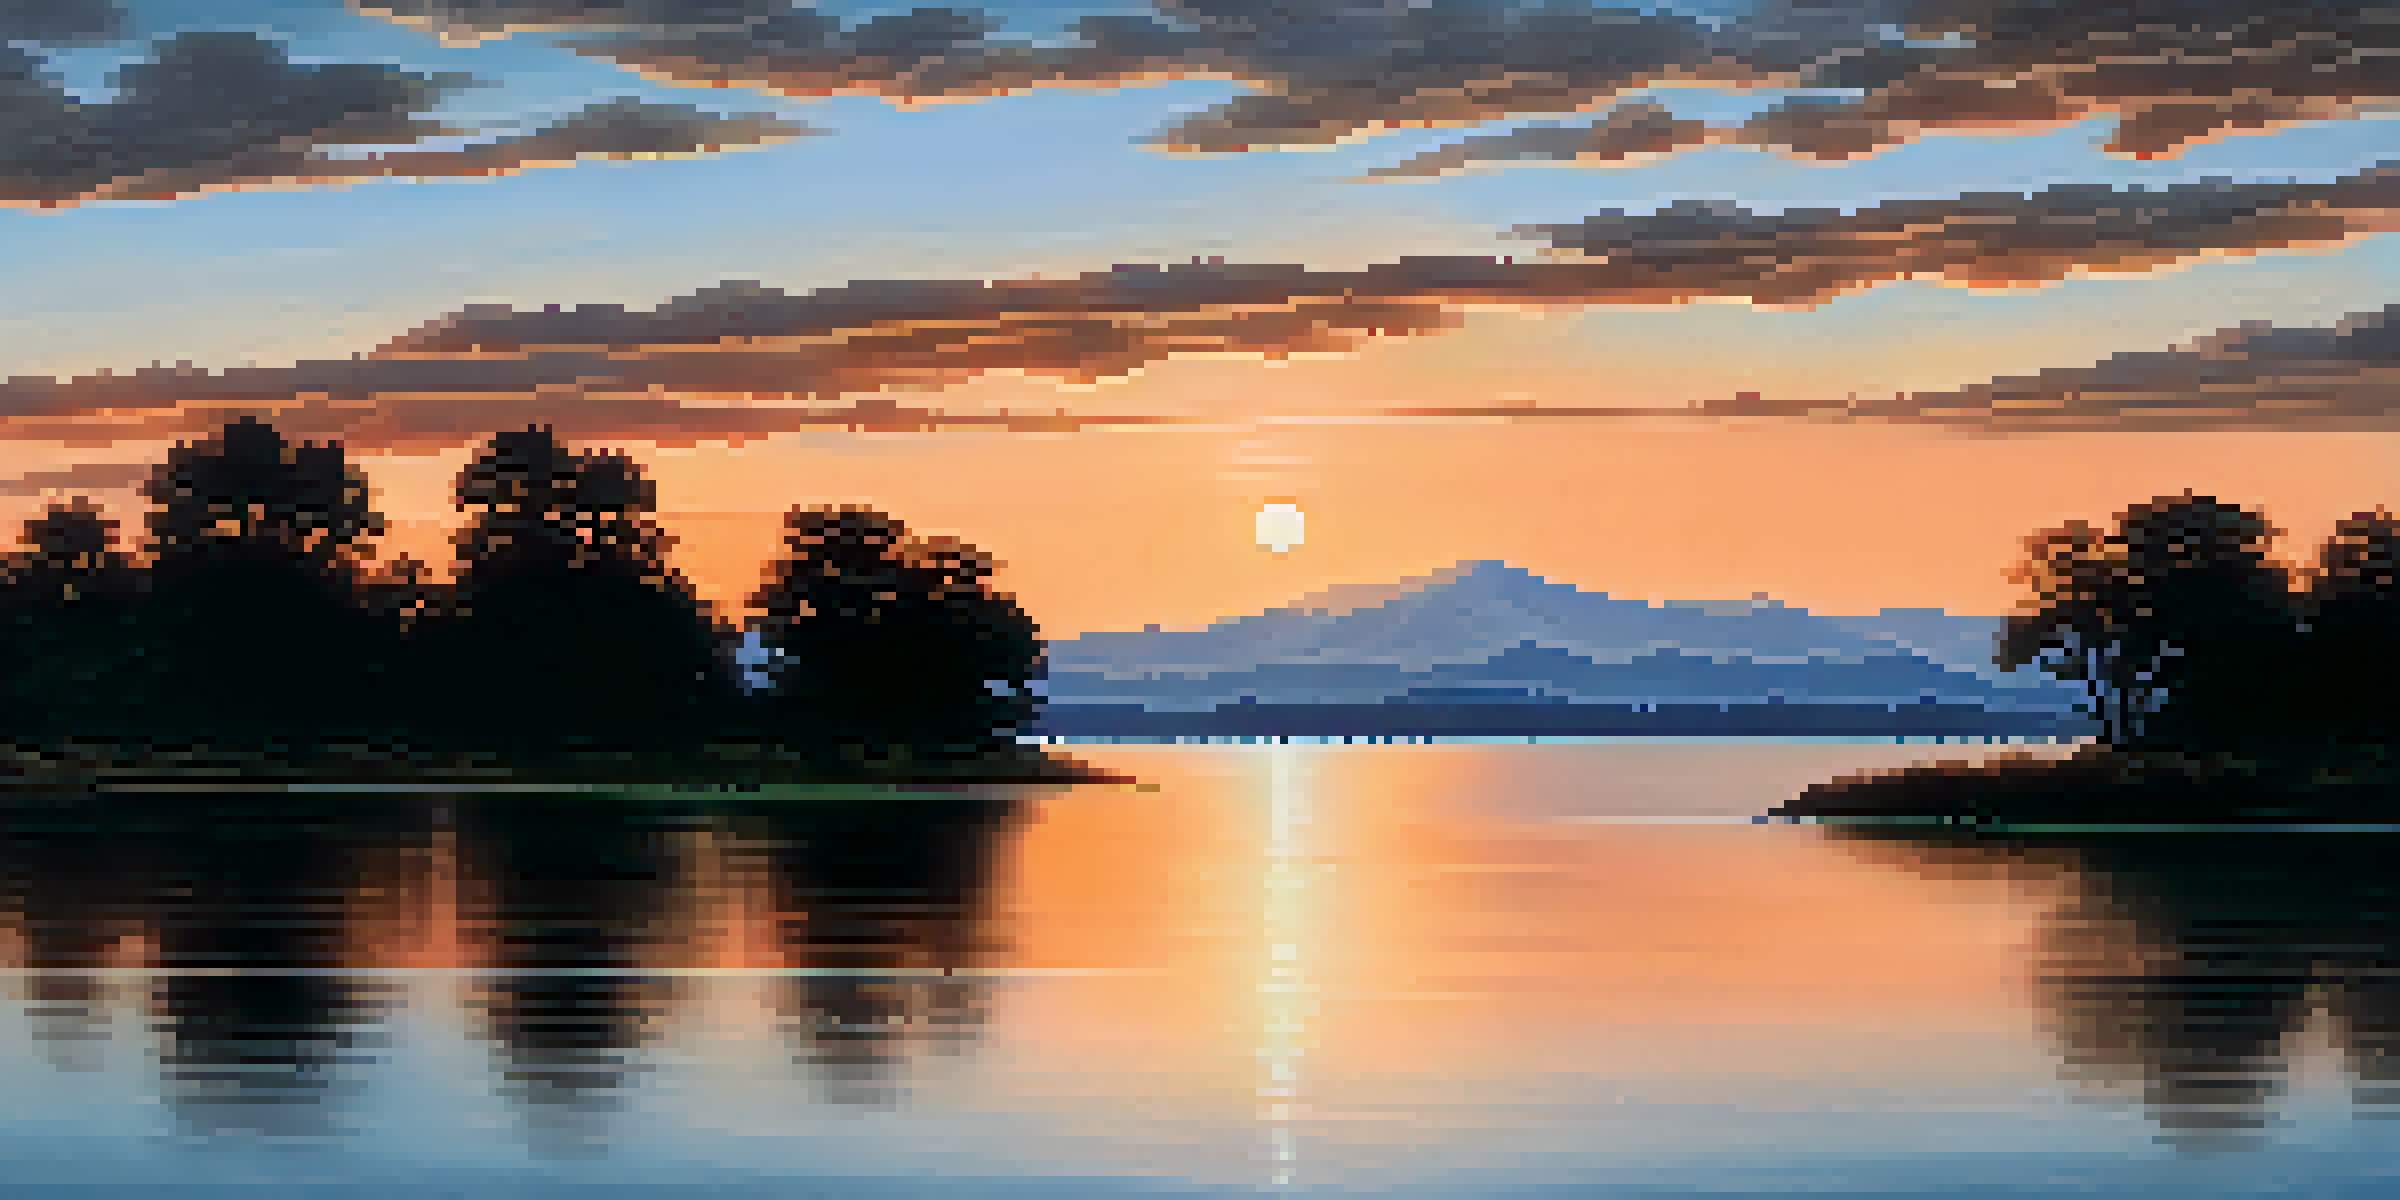
Timing plays a crucial role in capturing stunning long exposure landscapes. The golden hour, shortly after sunrise or before sunset, is often favored for its soft, warm light. This time enhances the beauty of natural landscapes and can add a magical quality to your photos.
A good photograph is knowing where to stand.
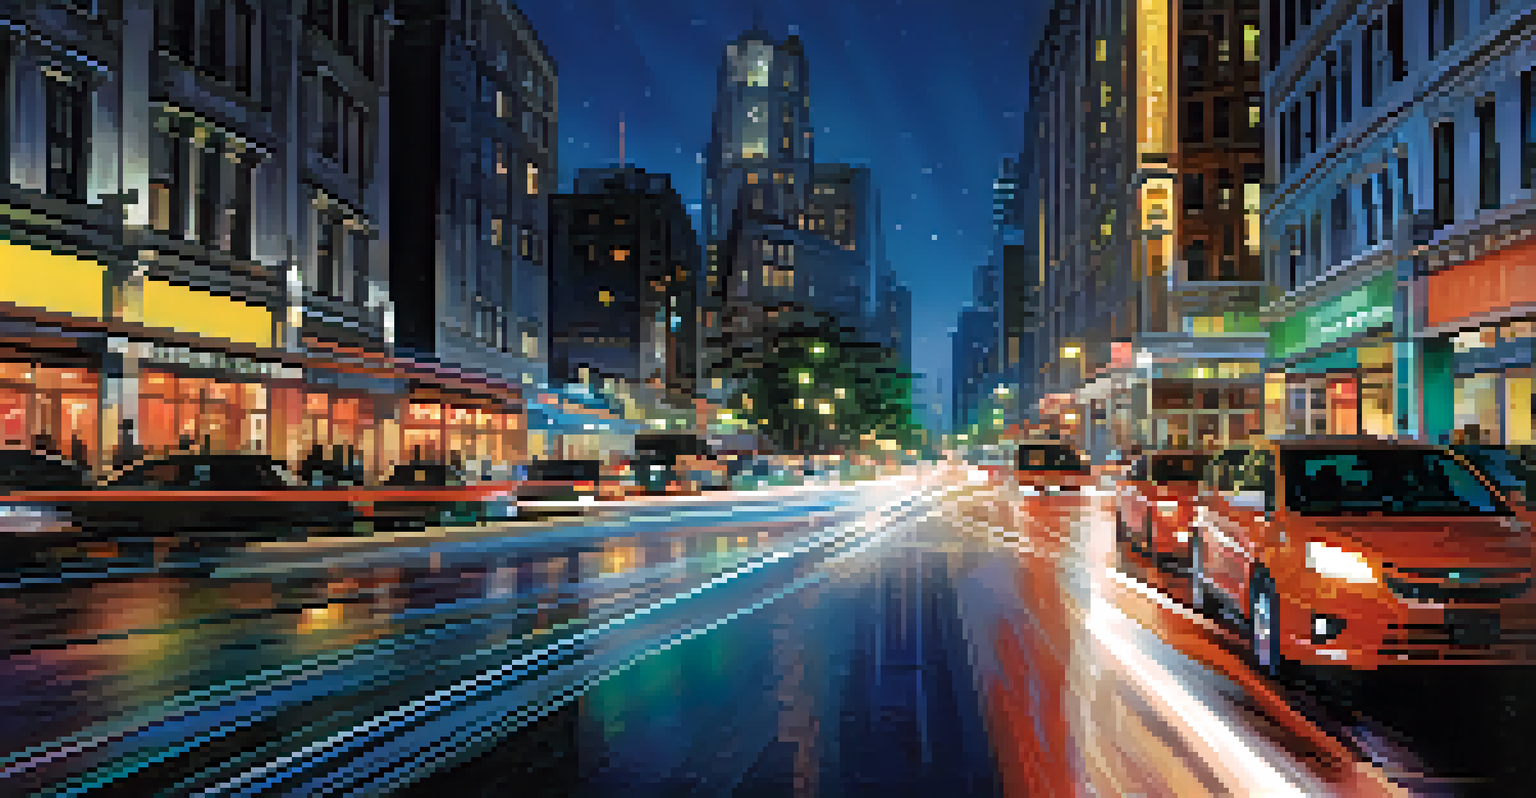
Shooting during twilight or at night can also yield breathtaking results, especially when capturing stars or city lights. Long exposure techniques can create a beautiful contrast between static landscapes and the dynamic movement of clouds or water, giving your photos a unique flair.
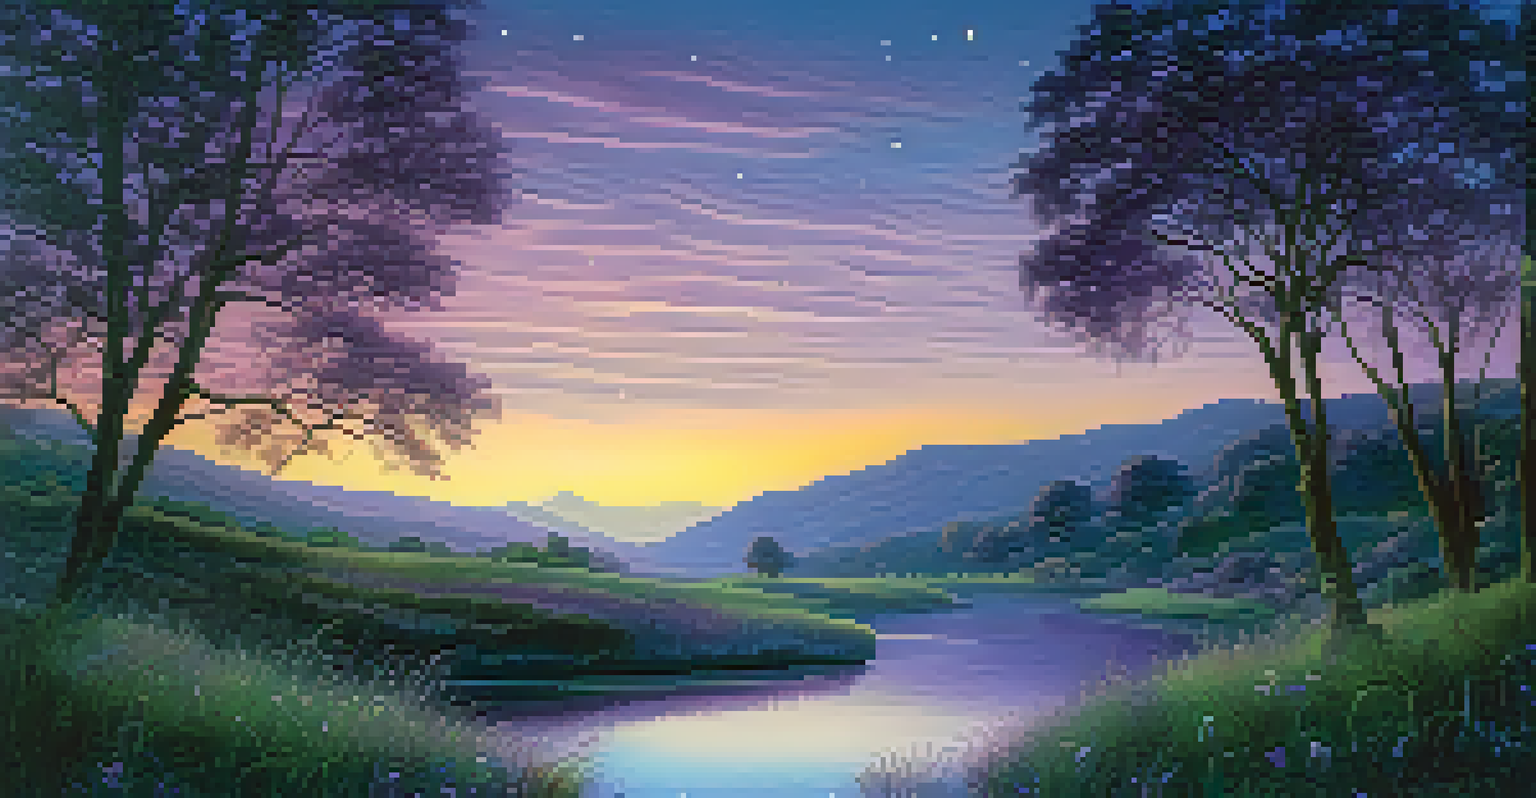
It’s essential to plan your shoot according to the weather and lighting conditions. Cloudy days can diffuse sunlight beautifully, allowing for longer exposures without overwhelming brightness, while clear nights can provide opportunities to capture star trails.
Composing Your Landscape for Maximum Impact
Composition is key in any photography, and landscape photography is no exception. The rule of thirds is a great guideline to start with, where you divide your frame into thirds both horizontally and vertically. Placing focal points along these lines can create a more balanced and engaging image.
Look for leading lines in your landscape, like roads, rivers, or paths, that draw the viewer’s eye into the scene. These elements can add depth and guide the viewer through your photograph, creating a story within the frame.
Timing Enhances Your Photography
Shooting during the golden hour or at night can dramatically improve the quality and mood of your long exposure images.
Don't shy away from experimenting with different angles and perspectives. Sometimes, a simple shift in viewpoint can transform an ordinary shot into something extraordinary. Take your time to explore your surroundings and find the best composition.
Mastering Exposure Settings for Long Exposures
To achieve the perfect long exposure shot, mastering your camera's exposure settings is crucial. Start by setting your camera to manual mode, allowing you complete control over shutter speed, aperture, and ISO. A slower shutter speed—often several seconds to minutes—will be required for long exposure photography.
Aperture also plays a significant role; using a smaller f-stop (like f/8 or f/11) increases your depth of field and ensures sharpness across the image. Meanwhile, keeping your ISO low (around 100-200) minimizes noise, which is especially important in long exposures.
Experimentation is key. Start with a few test shots, adjusting your settings as needed to find the right balance. Don't be afraid to make changes on the fly based on the scene you're capturing.
Post-Processing Techniques for Enhanced Results
Post-processing is an essential step in refining your long exposure images. Software like Adobe Lightroom or Photoshop allows you to adjust exposure, contrast, and color balance. Even subtle tweaks can significantly enhance the mood and quality of your photographs.
Consider adding contrast to highlight the details in your landscape, or adjust the clarity to make textures pop. You can also experiment with color grading to evoke specific emotions, such as warm tones for a sunny landscape or cooler shades for a moody scene.
Mastering Exposure Settings
Understanding and adjusting your camera's shutter speed, aperture, and ISO settings are key to achieving stunning long exposure shots.
Don’t forget about cropping and straightening your image if necessary. A well-composed final image can elevate your long exposure photography from good to great, ensuring your hard work pays off.
Common Mistakes to Avoid in Long Exposure Photography
Even seasoned photographers can make mistakes when experimenting with long exposure techniques. One common error is not using a tripod, which can lead to blurry images. Always ensure your camera is stable to capture the crisp details of your landscape.
Another mistake is neglecting to check your exposure settings. Too long of an exposure can lead to overexposed highlights, washing out details. It’s a good practice to start with shorter exposures and gradually increase the time until you find the sweet spot.
Finally, be mindful of your surroundings. Windy conditions can cause branches or grasses to move, resulting in unwanted blurriness. If you’re shooting in such environments, consider waiting for calmer moments or shifting your focus to more stable elements in the scene.